

Video is one of the most powerful and effective ways to communicate your message or explain your new product but it doesn’t have to be complicated.
You don’t need a blockbuster (RIP) video or to spend millions of dollars on an ad. Sometimes all it takes is a simple screen recording to explain your product or message.
In this new digital world we’re living in, remote and hybrid work are becoming the new normal. A personal video can be a quick way of sharing a message with others.
But here are a ton of fast effective tools out there like Vidyard or Loom. Why would you need to make it any more involved than that?
The main reason is control - having the flexibility to change the look and layout of your video on a whim. Below I breakdown my preferred ways to record video.
Screen recording Using Zoom
Sometimes you're working with a team of people and you want to be able to turn one person's presentation into a video for the rest of your team or to watch and upload at a later date.
I’ve tested multiple virtual meeting softwares from Google Meet to Microsoft Teams - all which are able to record video. However I found that Zoom provides the greatest flexibility for customizing your presentation afterwards.
1. Create your free Zoom account
However if you want a greater level of customizability I recommend upgrading to a pro account for a few reasons:
- A free account has a time limit of 40min per session
- A free account has limited recording settings so if you need to record the speaker and the screen you’ll need to upgrade
2. Before you start recording
- If you’re recording a presenter to ensure the best quality recording the higher resolution your camera is the better end result you will get. However, like all meeting softwares Zoom does limit the resolution of your camera recording for a stable connection.
- Important - If you’re recording as a presenter, change your recording settings
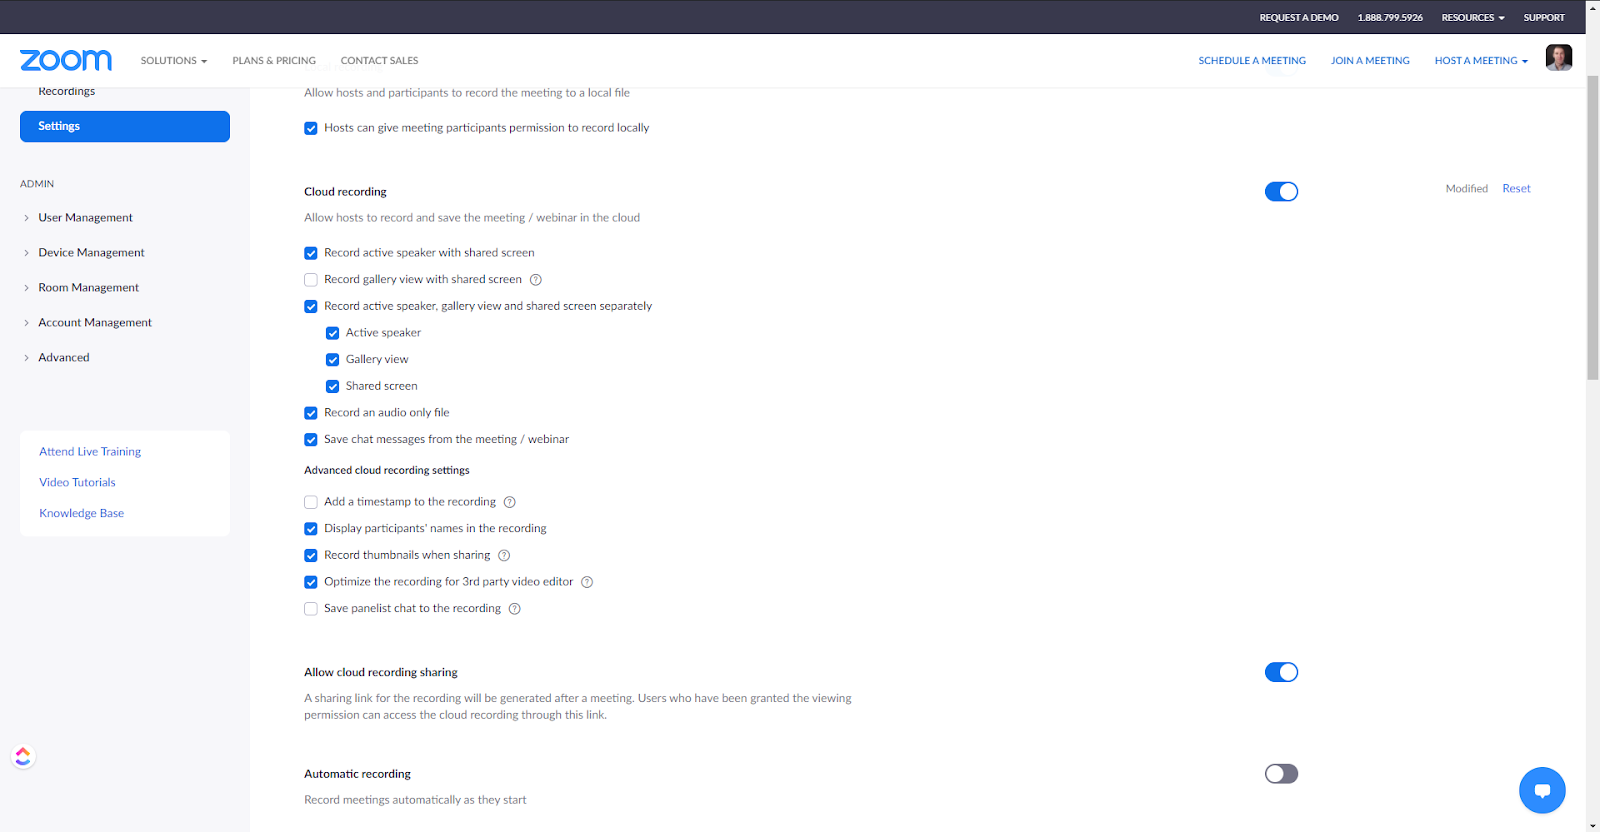
- Make sure that ‘Record active speaker, gallery view and shared screen separately’ is active
- Also make sure ‘Optimize the recording for 3rd party video editor’ is active
3. Start you meeting
4. Join with computer audio
- Select your audio input device

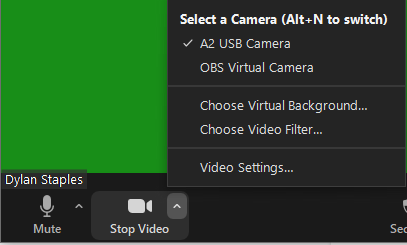
5. Turn on your camera
6. If your happy with your current background you can skip this step but if you want to change it later under camera setting select ‘Choose your virtual background’
7. Select a solid green image for your background.
- If you don’t have one then simply find a 1920x1080 green image from the internet and add it via the + icon

8. Share your screen/presentation inorder to record it as well.
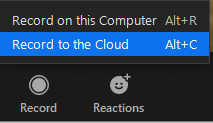
9. Start your recording

10. Select record to the cloud
11. You can pause your recording at any time
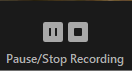
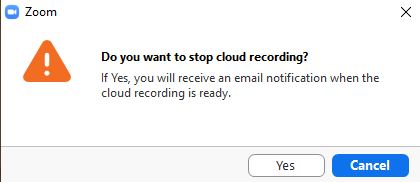
12. After you are finished, stop your recording - the files will then process and save to the cloud
13. When you are finished go to your recordings on your zoom profile
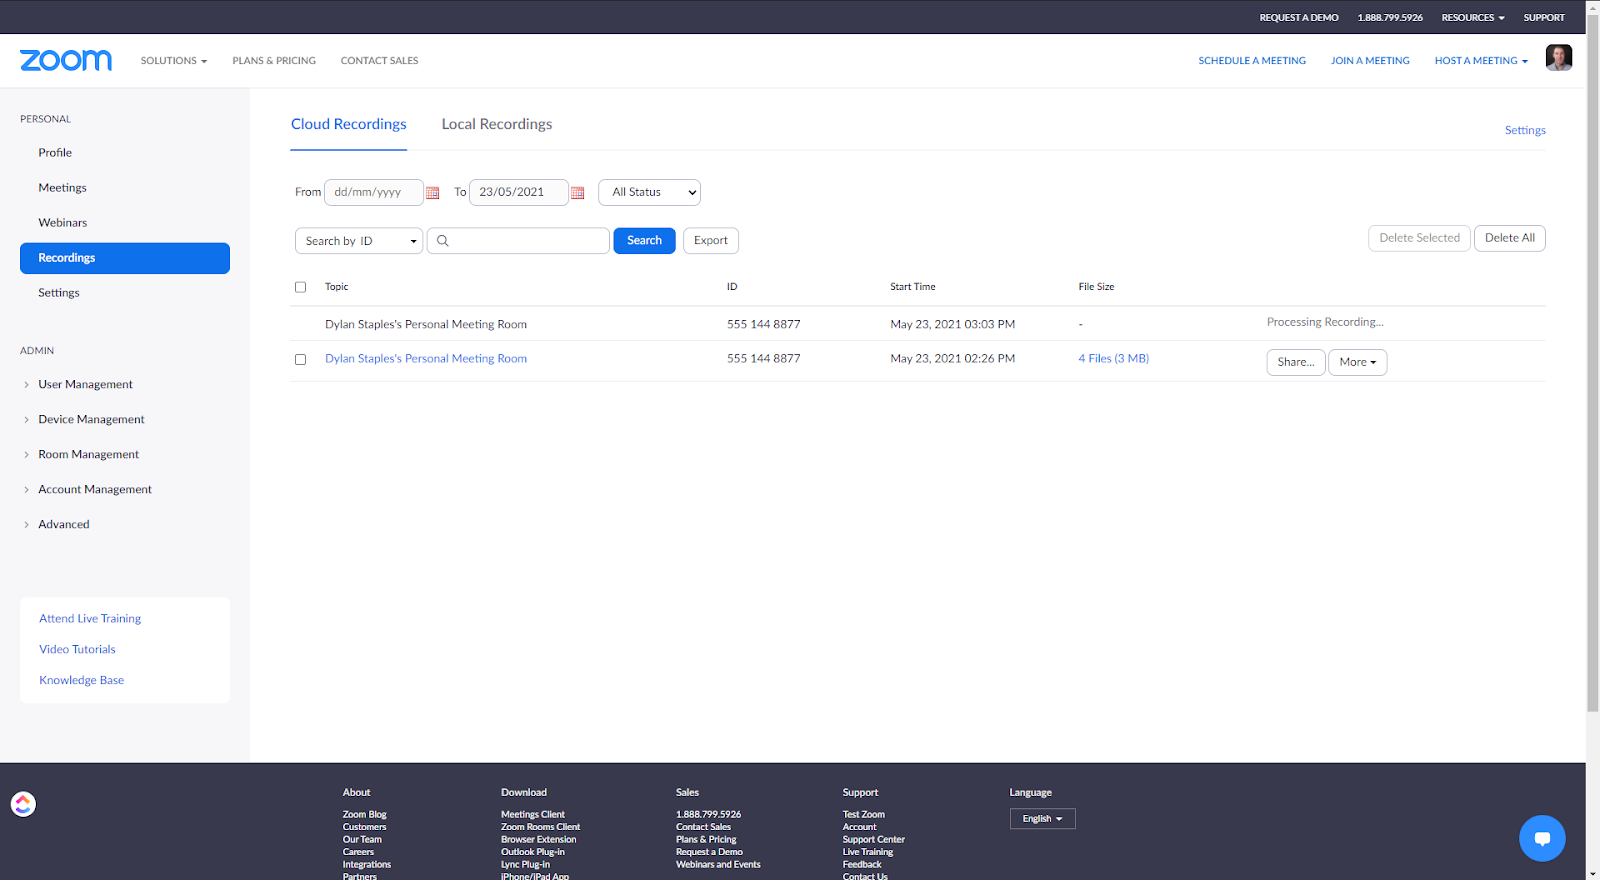
14. If done correctly you will see 4 files from your session

15. After you are finished you can share your recording via a link or download them directly to share

Screen Recording using OBS and Xsplit Vcam
If you're looking to record something locally on your computer and achieve a higher quality result than the previous solution look no further than these FREE tools. This process may seem a bit more technically challenging but if you follow these steps it's pretty simple.
There are two free programs you will need to download and install:
- OBS - for screen recording
- Xsplit Vcam - If you are recording yourself and would like to remove the background of your video. However if you do have a solid colour background with good contrast or a green screen this is not necessary as it can be done later in after effects and you can achieve a better result.
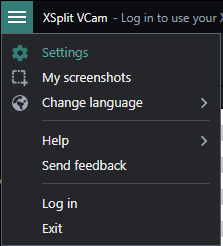
1. Open Xsplit Vcam - you can just skip the login
- The free version has a water mark at the top but that won’t matter if you are not covered by it
2. Simply click the remove background option

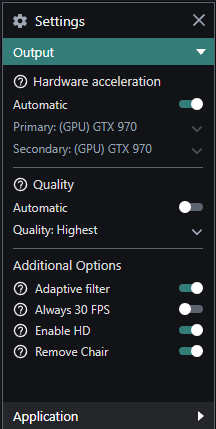
3. Open the settings and change the following
- Under quality turn of automatic and select the highest quality available
4. Open OBS
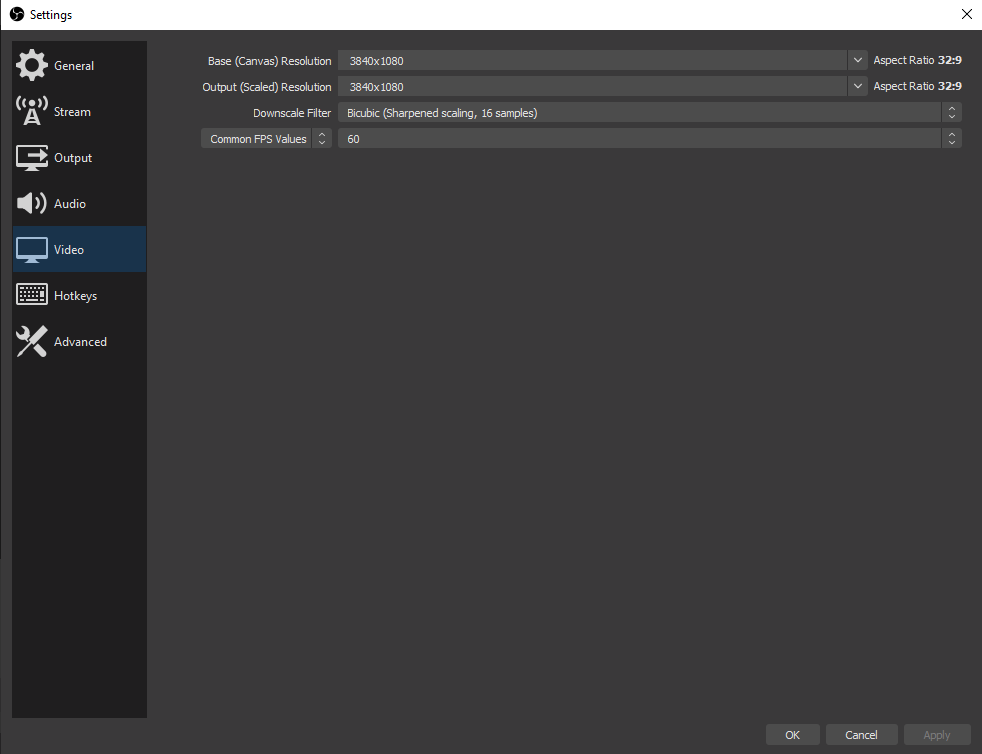
5. At the top under File->Settings->Video
- If you need to record your camera and screen at the same time change the base canvas resolution and output resolution from 1920x1080 to 3840X1080
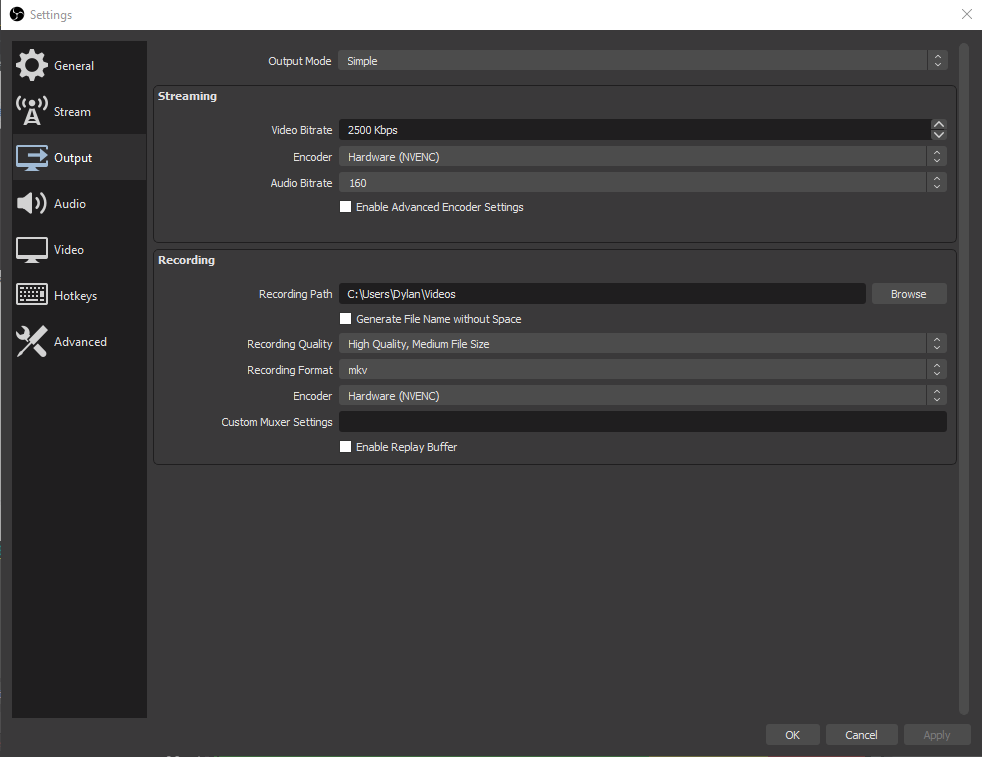
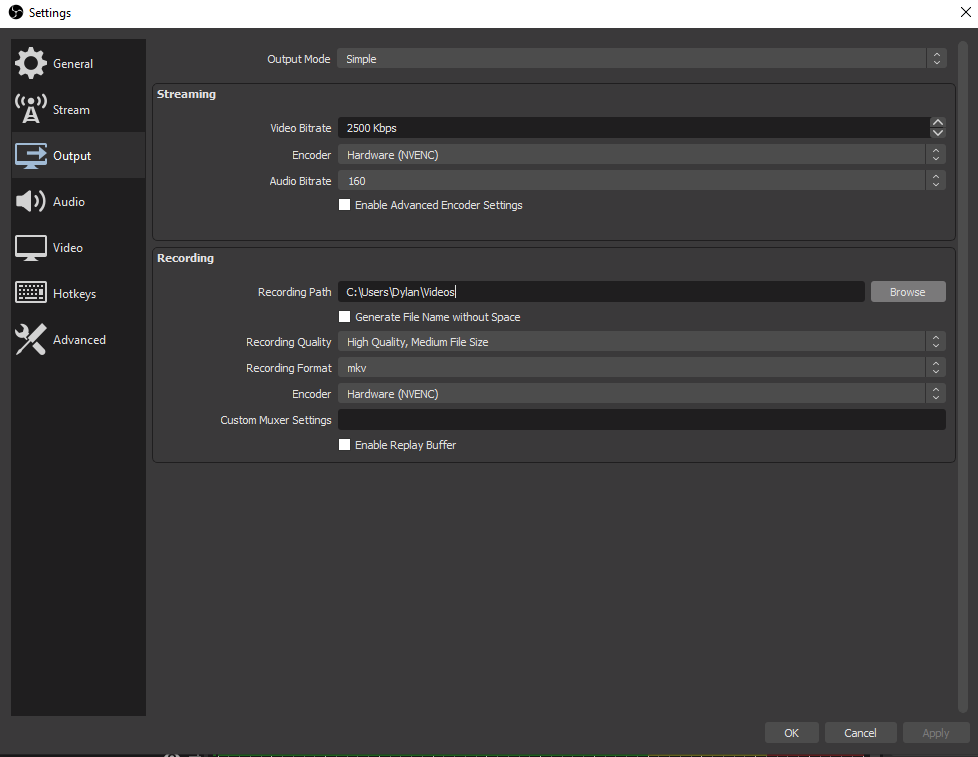
6. Next navigate to Output and select your Recording Path this is where you will find your recording when finished.
7. Next in the sources panel at the bottom you need to add your input devices. Right click in the panel select ‘add’ and add the following:
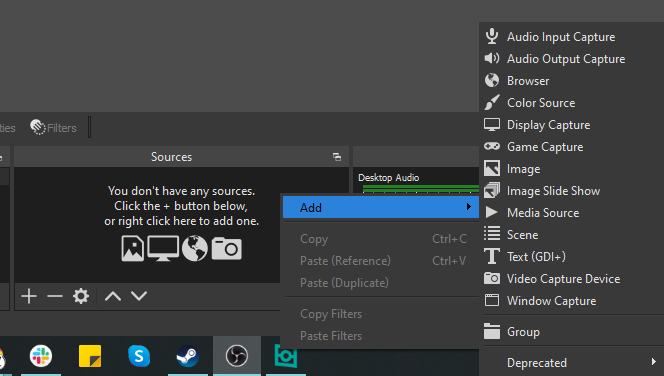
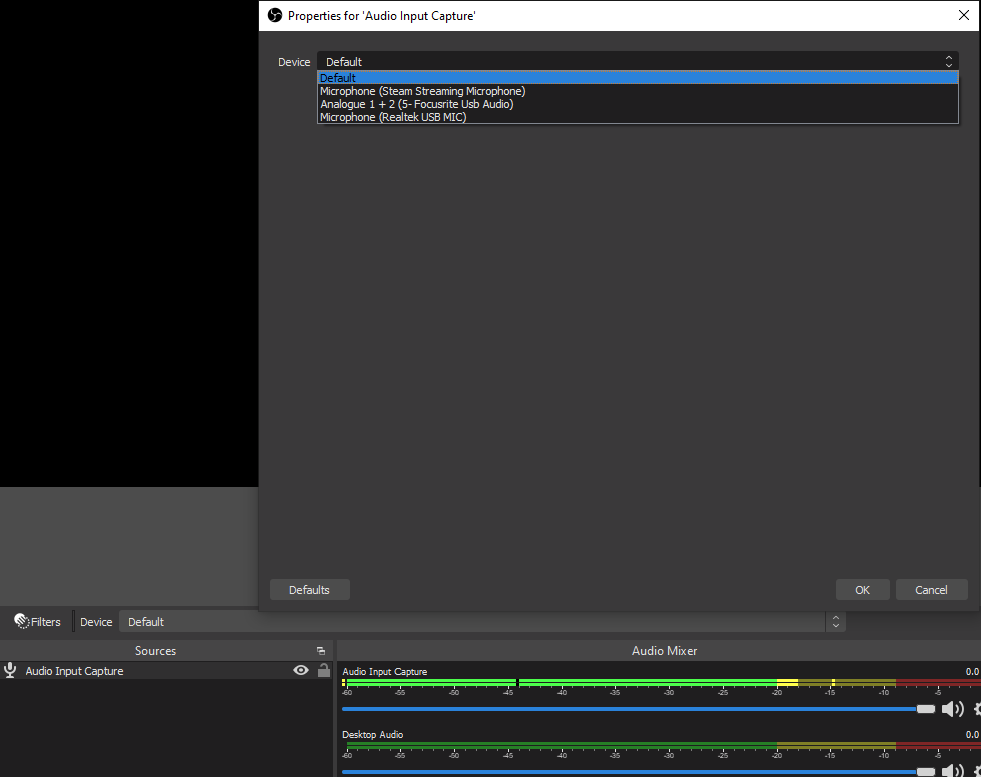
- Audio Input Capture - then select your audio device
- Display Capture - And select the screen you want to record

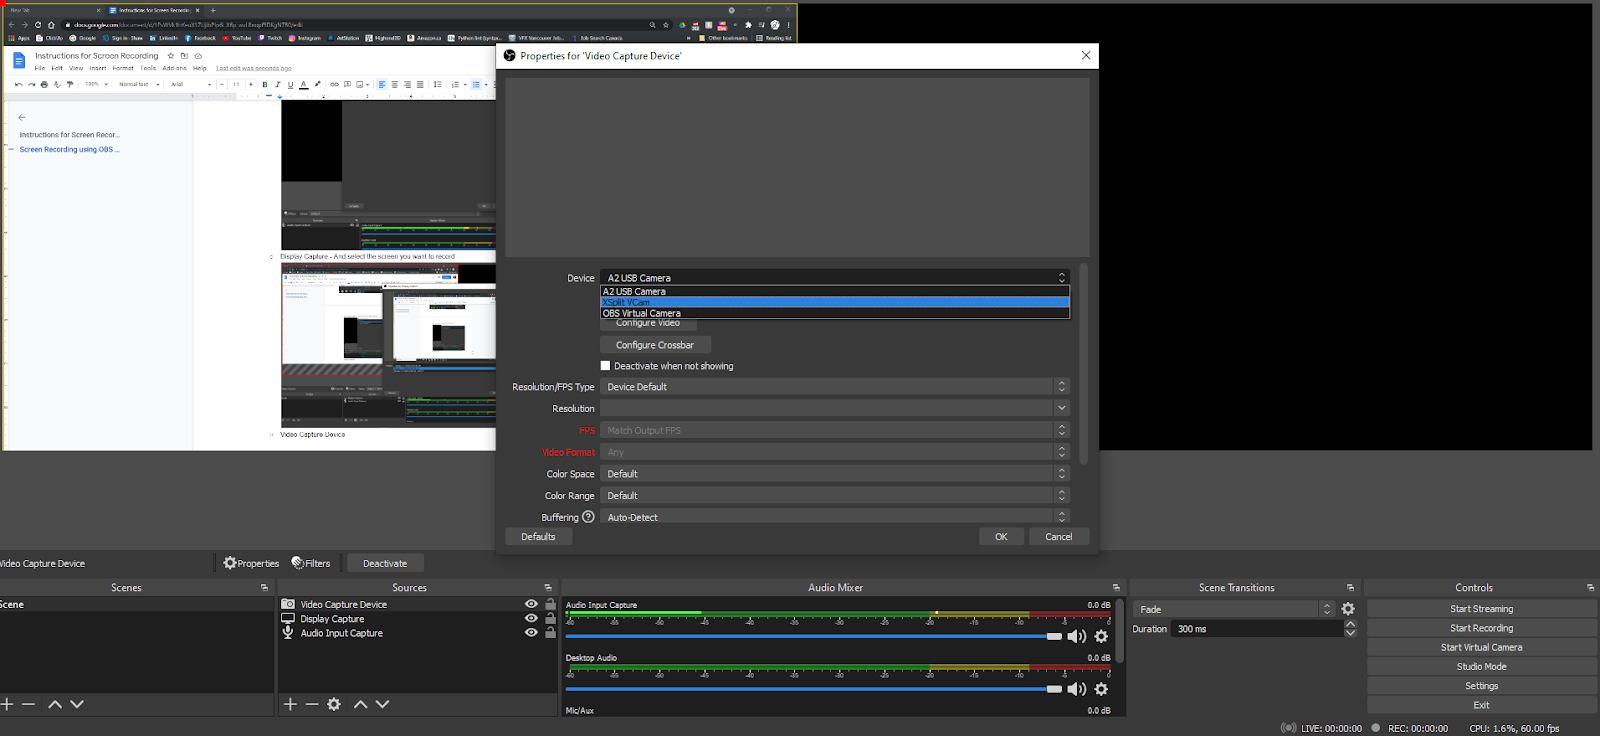
- Video Capture Device - if Xsplit Vcam is needed to remove the screen then select the ‘XSplit VCam’ for your camera otherwise you can select your regular camera.
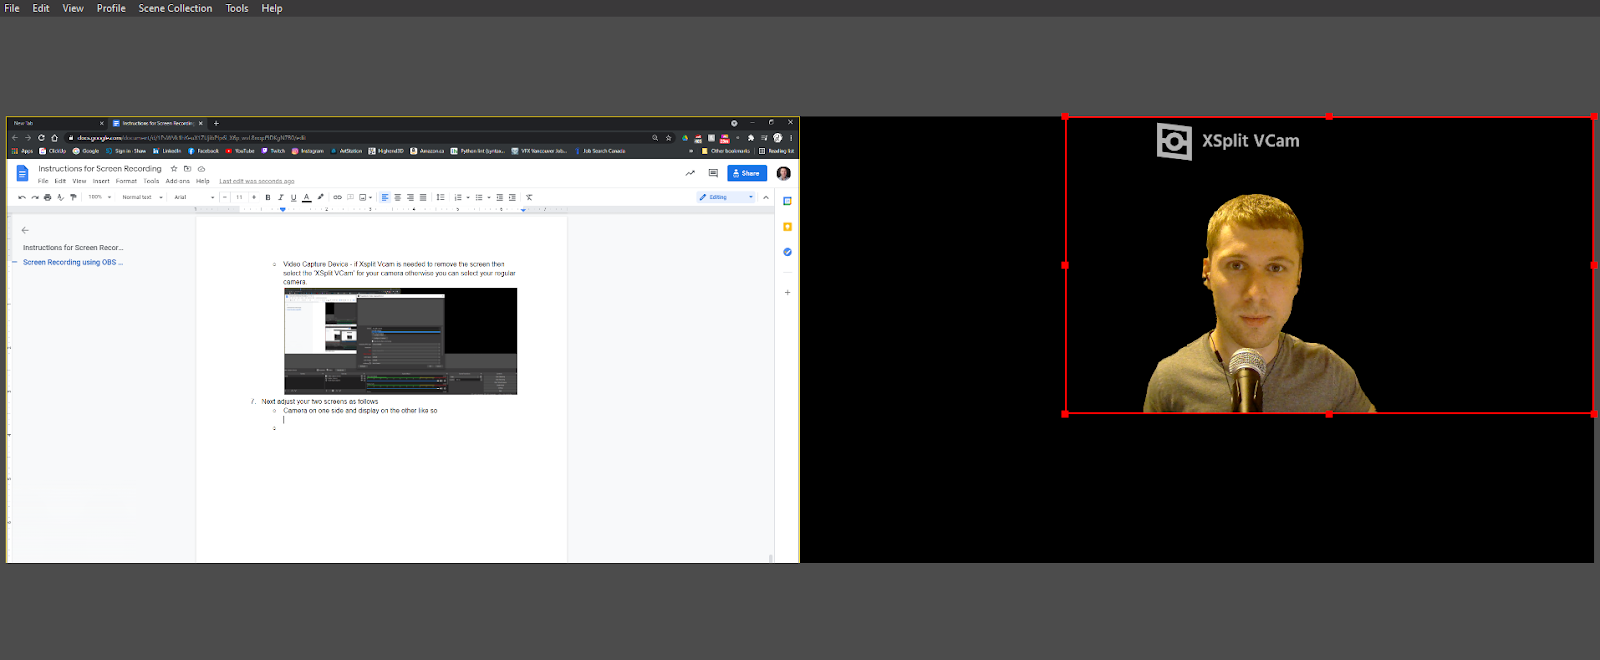
8. Next adjust your two screens as follows
- Camera on one side and display on the other like so
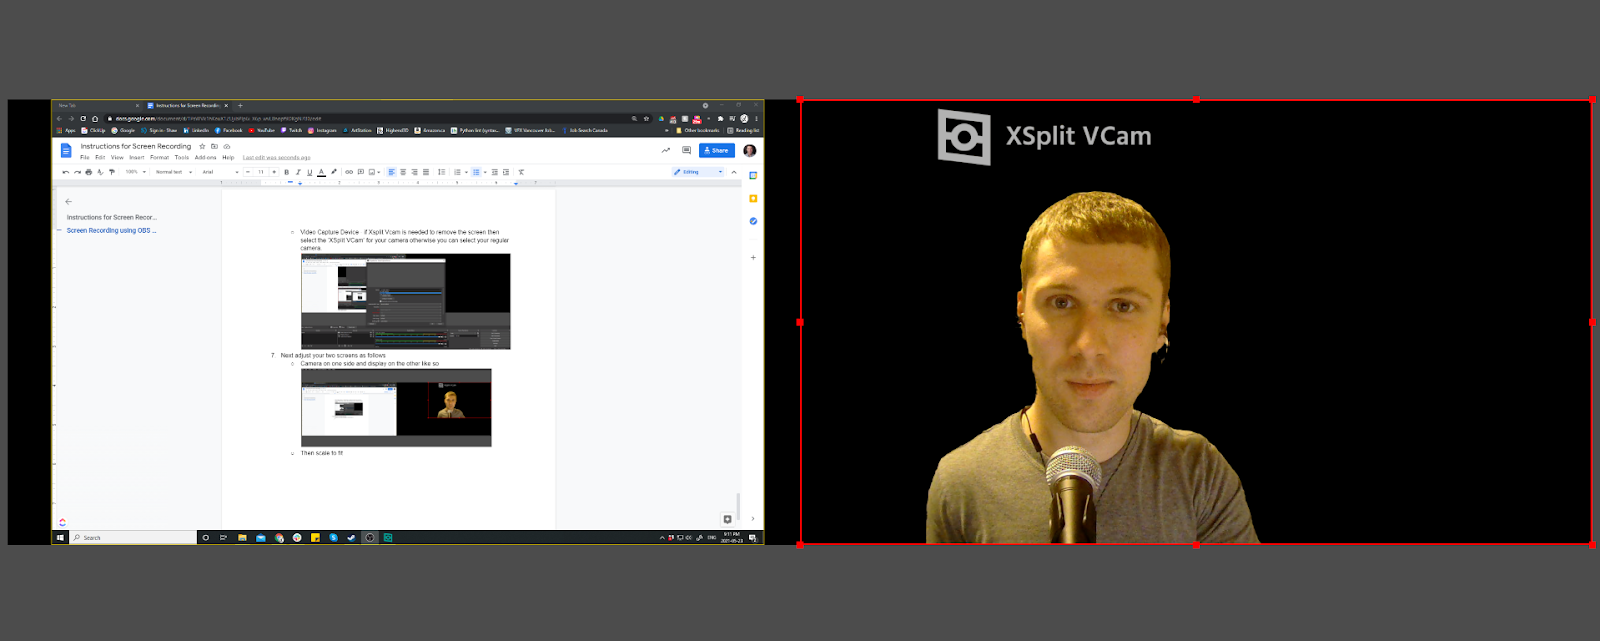
- Then scale to fit
9. Finally hit record at the bottom right of your screen
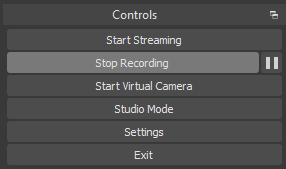
10. Stop the recording when finished and you will find your recording in the folder path you selected earlier.
So simple a monkey could do it.

Now you can take your footage into after effects and customize to your heart's content, change the layout, added effects and transitions. The only limit is your creativity.


